Game-Ready Assets | Optimized for Unity & Unreal | Instant Download
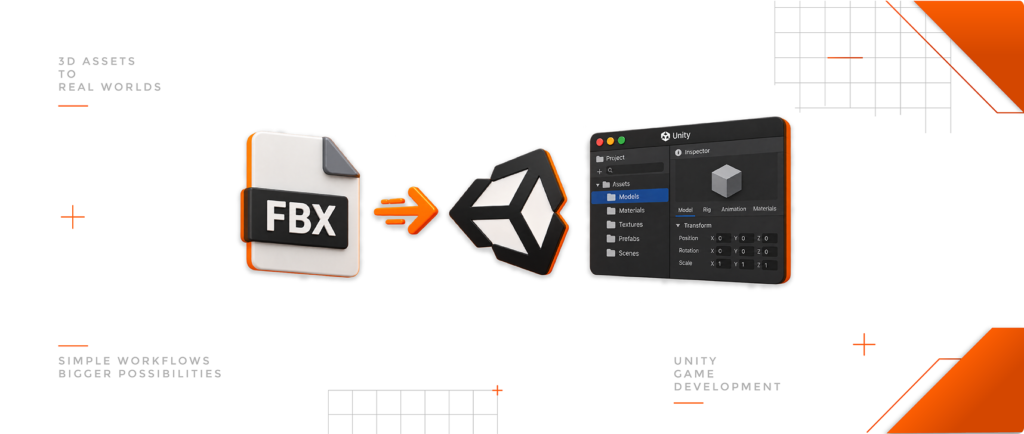
FBX is one of the most widely used formats for transferring 3D models from software such as Maya or Blender into game engines like Unity. In addition to geometry, an FBX file can contain information such as UVs, normals, materials, rigs, and animations.
Although importing an FBX into Unity is simple, properly checking its scale, orientation, materials, and import settings can prevent problems later in production.
In this guide, we’ll cover the essential steps for correctly importing and preparing an FBX model in Unity.
Before bringing the model into Unity, check the following in your 3D software:
Working with a consistent scale from the beginning prevents unnecessary corrections after importing the asset.
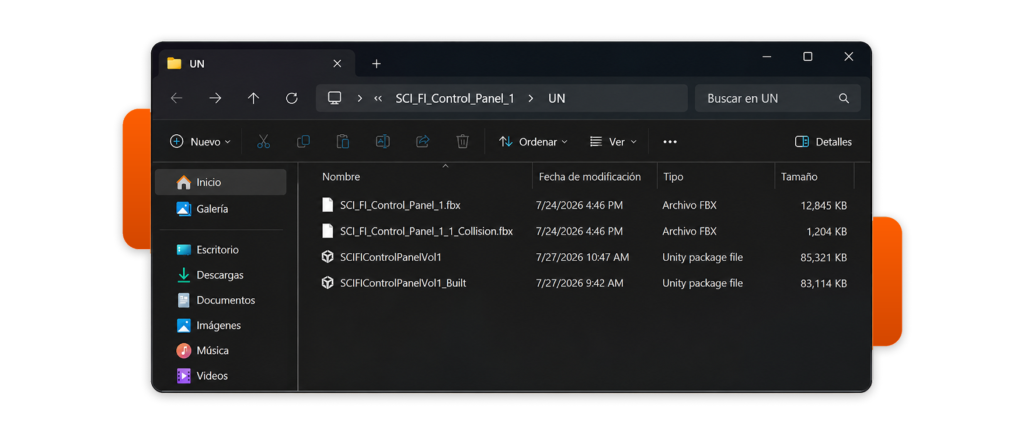
You can import an .fbx file by dragging it directly into Unity’s Project window or by copying it into the project’s Assets folder.
A simple and organized structure could be:
Assets/Art/Models
Assets/Art/Materials
Assets/Art/Textures
Assets/Art/Prefabs
Unity will detect the FBX and automatically import it into the project.
Select the FBX file in the Project window to access its import settings in the Inspector.
Depending on the model, you’ll find sections such as:
Model · Rig · Animation · Materials
These settings control how Unity interprets the data contained in the FBX.
One of the first things to check is the model’s scale. As a general convention, one Unity unit represents approximately one meter in the 3D world.
You should also verify the object’s orientation and pivot before using it throughout your project.
After importing the model, visually inspect its geometry and shading. Problems with normals or tangents can cause:
Also verify that the UVs are correctly aligned and that textures are not distorted.
Unity provides additional options such as Read/Write and Mesh Compression. These settings should be configured according to the project’s requirements rather than enabled or increased automatically.
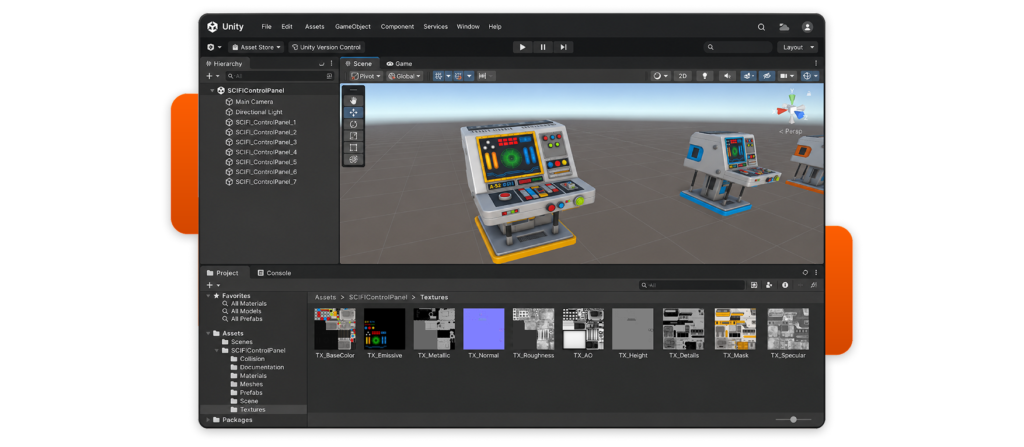
A material created in Maya or Blender will not necessarily look identical in Unity because each application uses its own shader and rendering systems.
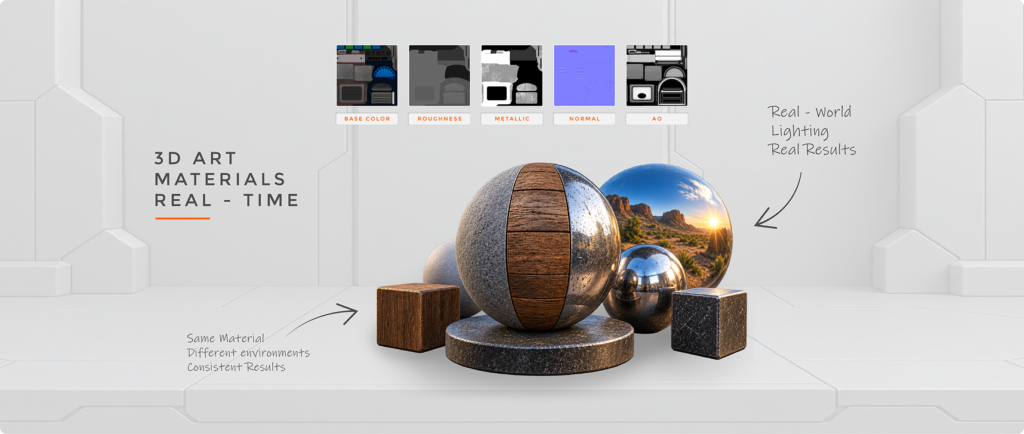
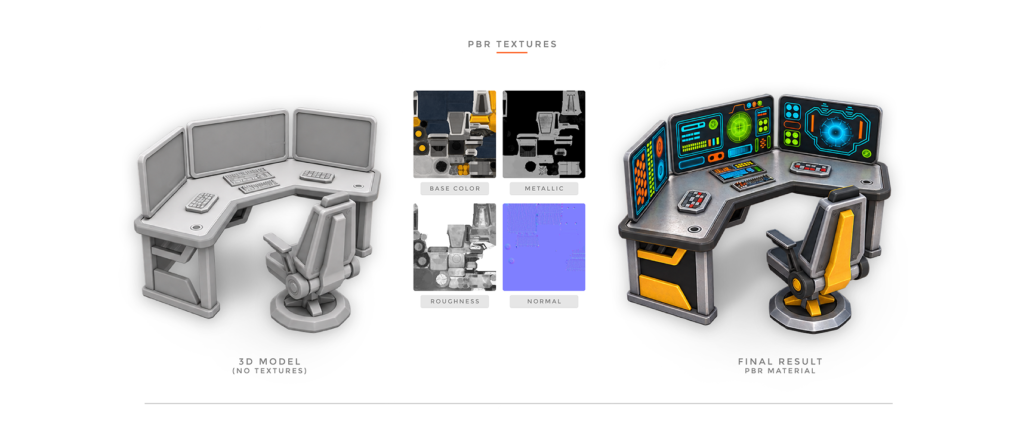
A PBR asset may include maps such as:
Make sure each texture is assigned to the appropriate material input.
Pay particular attention to Normal Maps and the difference between Roughness and Smoothness, as different shaders may use different conventions.
Unity can use different rendering pipelines:
Built-in · URP · HDRP
Materials and shaders created for one pipeline may not work correctly in another. If a material appears pink or magenta, one possible cause is an incompatible or missing shader. Always check which Render Pipeline an asset supports before integrating it into your project.
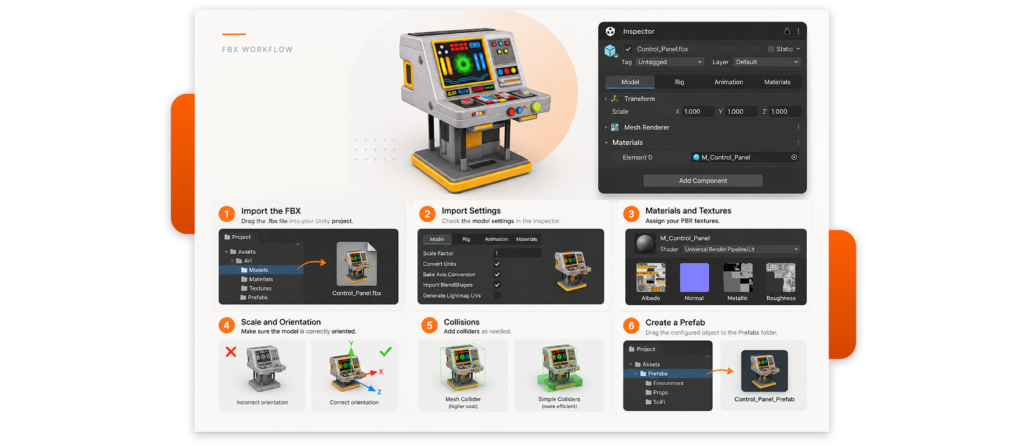
The visual mesh does not always need to be used directly as collision geometry.
Unity provides several collider types:
For simple objects, primitive colliders are generally more efficient. Complex objects may require custom collision geometry or a Mesh Collider depending on gameplay requirements.
Collision geometry should be as accurate as necessary, but as simple as possible.
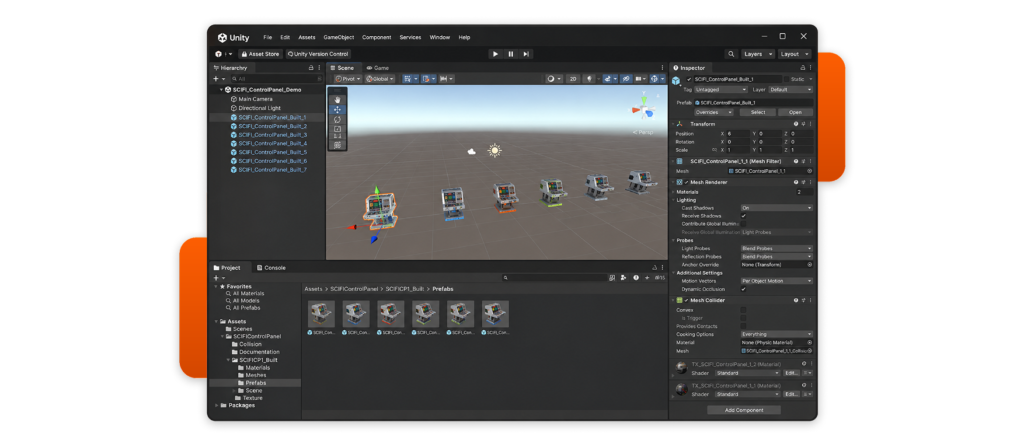
Once the model, materials, textures, and colliders are properly configured, you can create a reusable Prefab.
Drag the configured GameObject from the Hierarchy into a folder in the Project window.
For example:
Assets/Prefabs/Environment/
This gives you a reusable, preconfigured object that can be placed across multiple scenes.
Before considering the asset production-ready, place it in a representative scene and check:
A game asset should not be evaluated only by how it looks up close. It should also perform and look correct at the distances and conditions in which players will actually see it.
The Model Is Too Large or Too Small
Check the units used in your original 3D software, the FBX export settings, and Unity’s import scale.
The Model Is Rotated Incorrectly
Review the orientation and axis conventions used during export.
Materials Appear Pink
Check whether the shaders are compatible with the project’s Render Pipeline: Built-in, URP, or HDRP.
The Model Has Shading Issues
Check the normals, tangents, smoothing, hard edges, and Normal Map configuration.
Textures Look Blurry
Review the source resolution, Maximum Texture Size, compression, mipmaps, and UV texel density.
Importing an FBX into Unity is simple, but preparing it correctly ensures that the model works as expected throughout your project.
A reliable workflow is:
Prepare → Export → Import → Configure → Test → Create Prefab
Checking these elements from the beginning helps keep your project organized and prevents issues when the same assets are reused across multiple scenes.
Discover game-ready 3D assets built for modern production workflows, with optimized models, PBR textures, and multiple formats for easier integration into your projects.